Last updated November 21, 2026
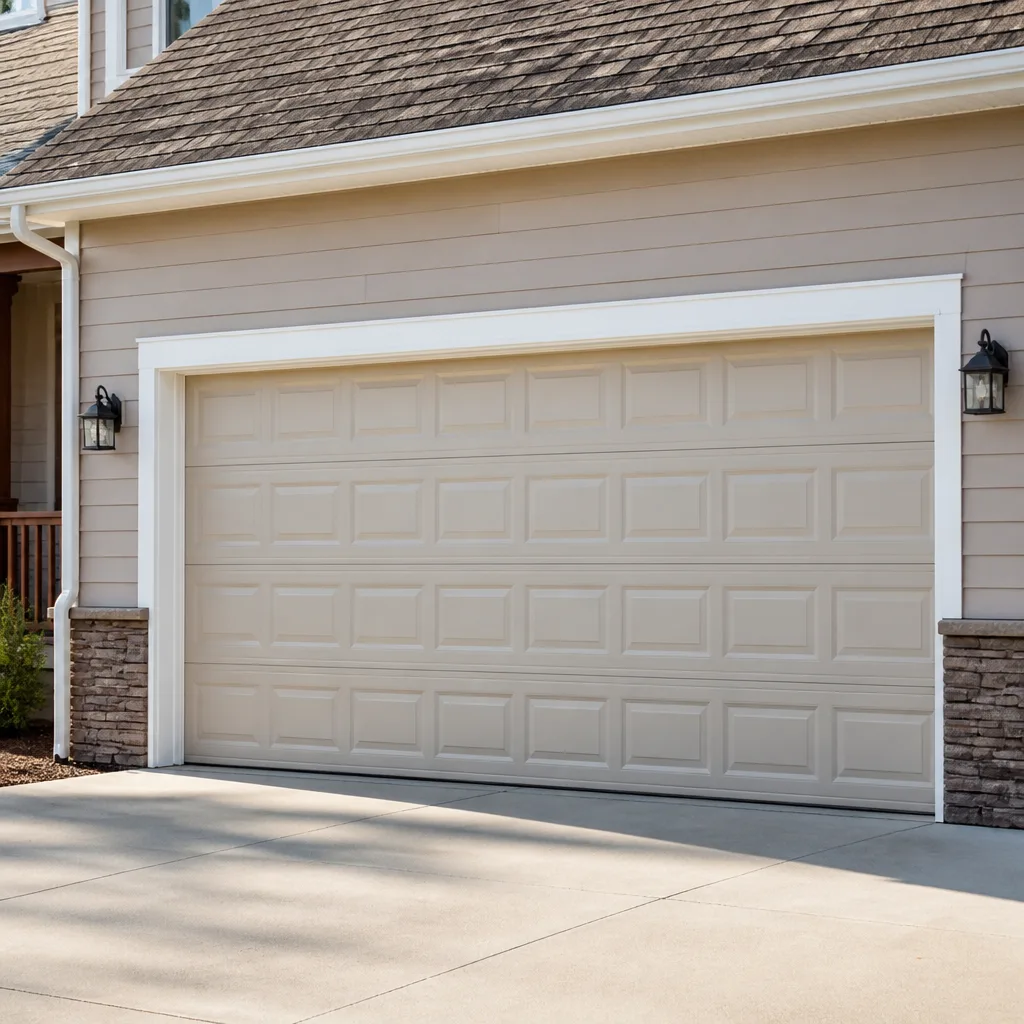 Raised-panel steel
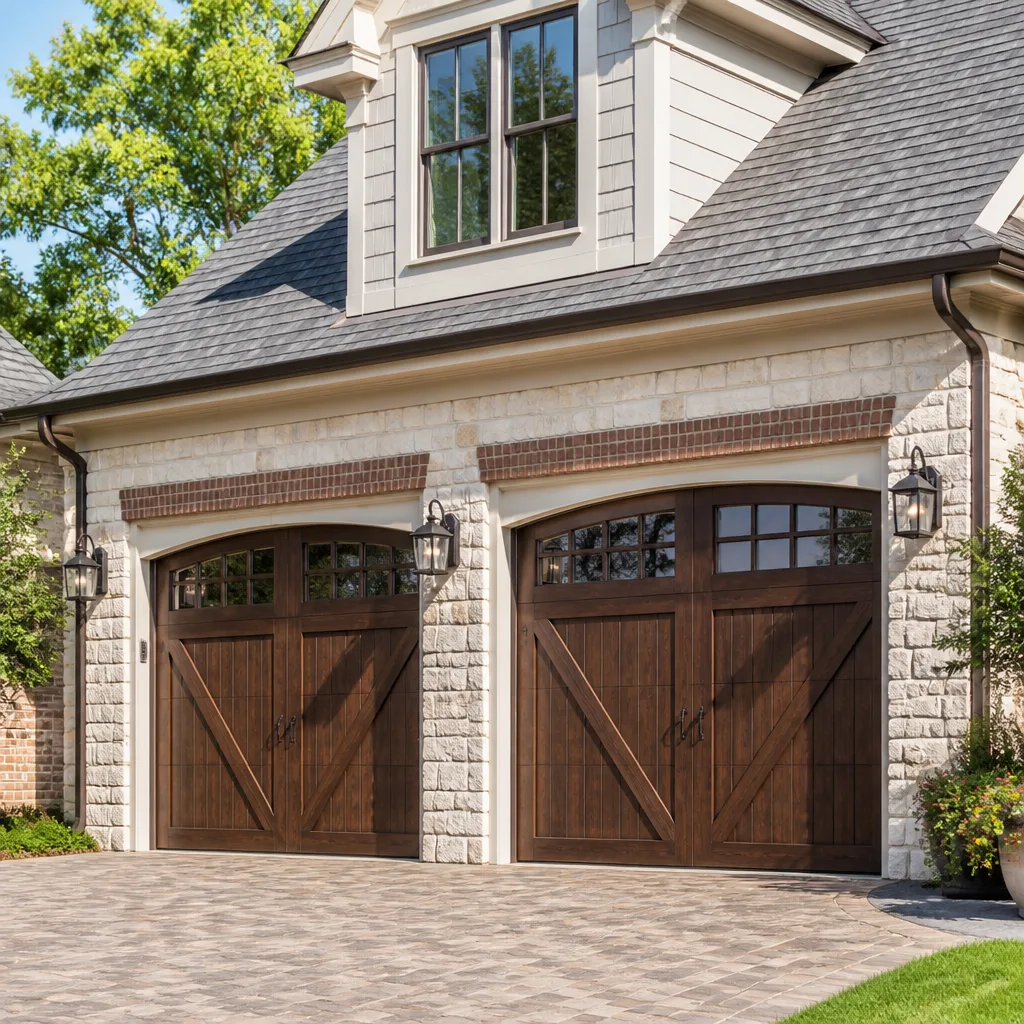 Carriage house
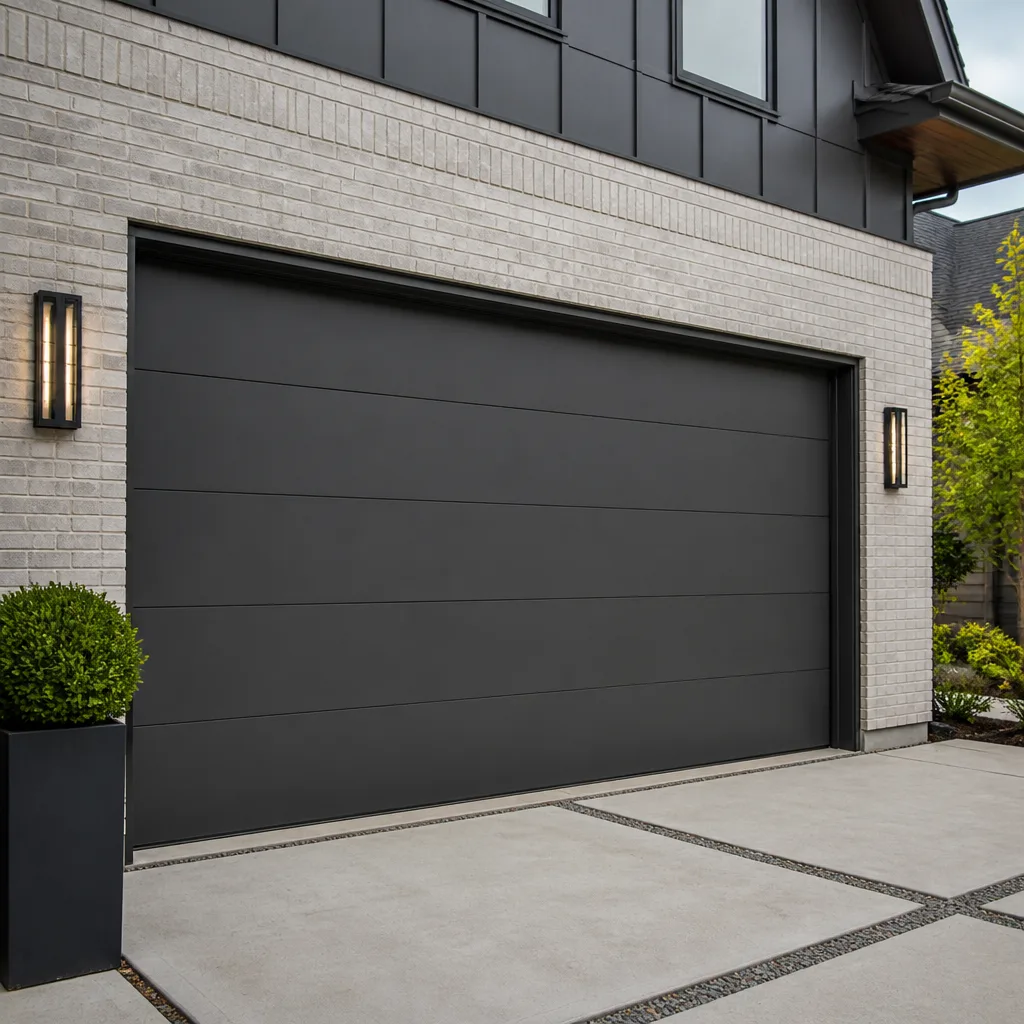 Modern flush
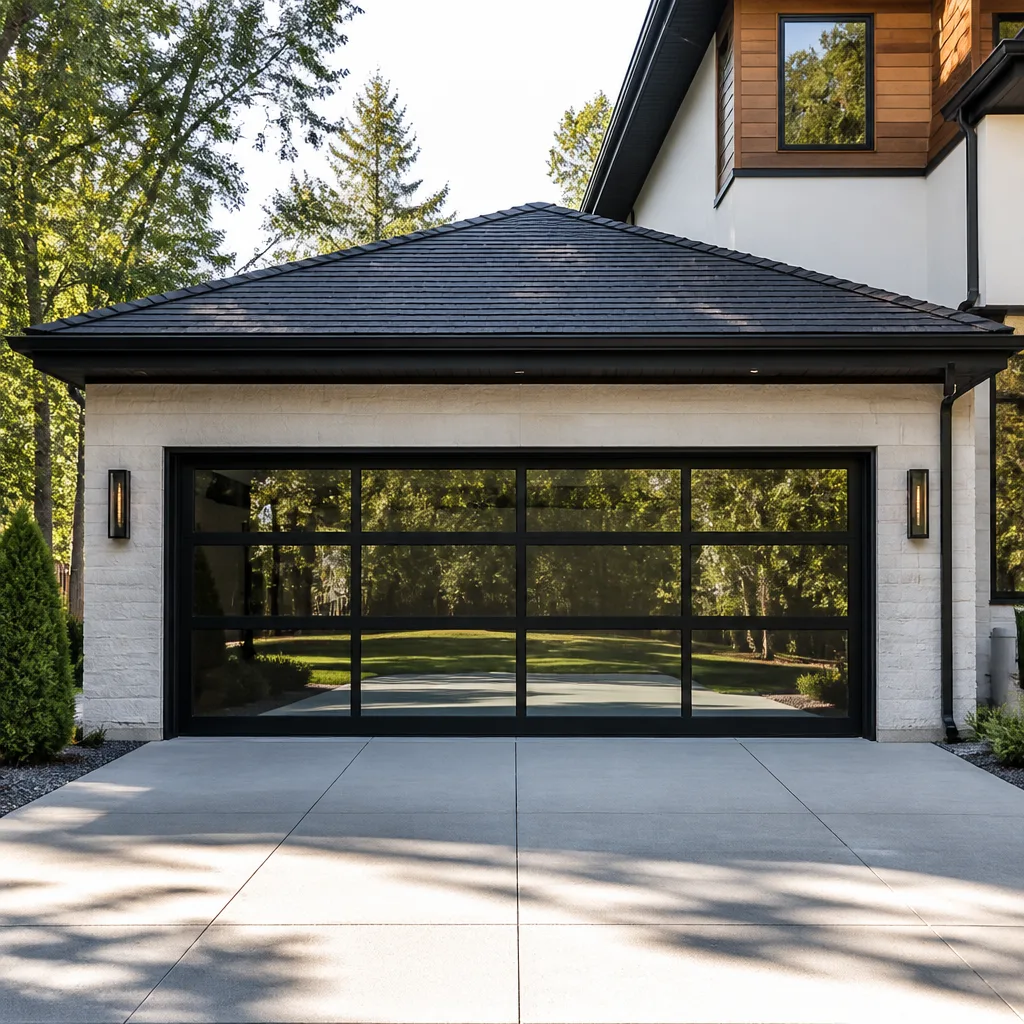 Full-view glass
 LiftMaster openers
 Chamberlain openers
Full 25-point door and opener safety check with every visit - springs, cables, rollers, tracks, and your LiftMaster or Chamberlain opener included
You get a price before we start. It does not change when the pro arrives.
Get your free estimateGarage Door Repair Maintenance Checklist for Brandon Homeowners
A loose cable drum and a worn torsion spring look almost identical to a homeowner standing in the driveway. One is a 10-minute adjustment. The other is a part that can send a 200-lb door down without warning. That gap between “looks fine” and “about to fail” is where most garage door advice goes wrong. Generic checklists tell you to lubricate and listen for noise, then leave you to guess which noise matters. This guide is built the other way around: it starts with the failure points we actually find on Brandon doors, then sorts every task into what you can safely do yourself, what you can safely observe but should let a pro fix, and what you should not touch at all. You’ll also get a maintenance rhythm tied to Brandon’s seasons instead of an arbitrary quarterly schedule, plus a simple way to record what you see so a technician can spot a part wearing out over time rather than just the thing that broke this week.
Quick Answer
A solid garage door maintenance checklist for Brandon homeowners covers three tiers: safe DIY tasks like lubricating rollers and hinges and wiping weatherstripping, observable-but-professional items like spring coil wear and cable condition, and do-not-touch components including torsion springs, cables, and drums. Check the door monthly in summer humidity and after any storm, and book a trained technician once a year for the parts you can’t safely inspect.
Styles & brands we work with
- Raised-panel steel
- Carriage house
- Modern flush
- Full-view glass
- LiftMaster openers
- Chamberlain openers
Table of Contents
- The Three-Tier Checklist: Safe, Observable, and Off-Limits
- Tier 1: What You Can Check and Fix Yourself
- Tier 2: What You Can See but Shouldn’t Fix
- Tier 3: The Do-Not-Touch List
- Brandon’s Climate and What It Does to Your Door
- A Seasonal Maintenance Rhythm for Brandon, Not a Quarterly Rule
- What Looks Fine but Is Actually Wearing Out
- How to Document Your Door’s Condition Over Time
- Common Mistakes to Avoid
- When to Call a Professional
The Three-Tier Checklist: Safe, Observable, and Off-Limits
The reason most maintenance lists fail is that they treat every part of a garage door the same. They don’t. Some parts tolerate a homeowner with a rag and a can of lubricant. Others tolerate nothing but a trained hand and the right tool. Sorting tasks by risk is the single most useful thing you can do before you touch anything.
Here’s how we divide the work when we talk a Brandon homeowner through their door:
- Tier 1 – Safe to check and fix. Lubrication, weatherstripping cleaning, visual alignment checks, listening for changes in sound. You can do all of this yourself with no risk.
- Tier 2 – Safe to observe, pro to fix. Roller wear, hinge looseness, cable fraying, spring coil gaps, track misalignment. You can spot these. Repairing them is a different job.
- Tier 3 – Do not touch. Torsion springs under tension, extension springs, cables under load, cable drums, and the counterbalance system as a whole. These parts store enormous energy. A door in the wrong position while you work on them can injure you badly.
The tiers aren’t about skill. A handy homeowner can replace a hinge. The tiers are about stored energy and the consequences of getting it wrong. Brandon homes sit in a climate where heat and humidity work on these parts year-round, which makes worn hardware more common here than in drier parts of the country. Knowing which tier a problem belongs to tells you whether to grab a screwdriver or grab the phone.
Tier 1: What You Can Check and Fix Yourself
Tier 1 tasks take about 15 minutes a month and prevent a surprising share of the small problems that turn into big ones. None of them require tools beyond a rag, a lubricant, and your eyes.
- Lubricate rollers and hinges. Use a silicone-based or white lithium lubricant on the roller stems and hinge pivot points. Skip the tracks themselves; grease in the tracks attracts grit and makes the door louder, not quieter.
- Wipe down the weatherstripping. Run a damp cloth along the rubber seal at the sides and top. This is where a Brandon summer shows up first.
- Check the bottom seal for cracks and gaps. Look at the rubber strip along the bottom edge where the door meets the floor. If light shows through when the door is closed, the seal has failed.
- Test the safety reverse. Place a roll of paper towels or a piece of lumber flat on the floor in the door’s path and close the door. It should reverse on contact. If it doesn’t, stop using the door until a technician looks at it.
- Listen for changes. A door that rattles, grinds, or squeals in a new way is telling you something. The sound itself is the diagnostic clue.
- Look for obvious track dents. A bent track shows up as a door that shudders or slows at one point in its travel.
For a door that’s simply stiff or loud, a good lubrication pass often solves it. If the noise persists or the door struggles, that’s a sign the problem lives below the surface. Our garage door repair service exists precisely because so many “small” issues turn out to be a worn part, not a dry hinge. When you’re not sure which one you’re dealing with, it’s usually faster to have someone look than to keep spraying lubricant on it. We work on LiftMaster and Craftsman openers just as often as we do on the door hardware, and a technician can tell you in a few minutes whether you’re looking at a lubrication issue or a part on its way out.
Tier 2: What You Can See but Shouldn’t Fix
Tier 2 is where good observation saves money. You’re not doing the repair. You’re catching the wear early enough that the repair stays small. This is the tier most homeowners skip entirely, and it’s the tier that pays for itself.
Here’s what to look at, and what you’re actually looking for:
- Rollers. Steel rollers develop flat spots. Nylon rollers crack and chip. A flat spot on one roller makes the door jump at a specific point in its travel. You can see it; replacing it correctly takes a pro.
- Hinges. Look for a hinge that’s pulled away from the door panel or has a wallowed-out screw hole. That’s a sign the hinge is bearing more load than it should.
- Cables. A frayed cable looks like a fuzzy, uneven strand along the cable’s length. Any fraying means the cable is failing and needs a professional replacement.
- Spring coils. Look for a gap in the coil windings. A gap in a torsion spring tells you the spring has broken.
- Tracks. Look for dents, bends, or a track that’s pulled away from the wall bracket. Misaligned tracks make the door noisy and can bind the rollers.
The reason these belong in Tier 2 rather than Tier 1 is that the repair changes the load on a system that’s balanced to a very specific tension. Replacing one roller is safe. Replacing a hinge that’s under spring tension isn’t. Replacing a cable requires releasing and re-tensioning the counterbalance, which is a Tier 3 job wearing a Tier 2 costume. For the springs specifically, our garage door spring repair work is the most technical thing we do, and it’s the work we urge homeowners never to attempt themselves. Springs are not a DIY job.
Tier 3: The Do-Not-Touch List
We want to be direct about this tier, because a lot of online maintenance content is careless with it. Torsion springs, extension springs, cables, and cable drums all store large amounts of energy. A torsion spring under tension can release that energy instantly. A cable that fails under load can whip. A door that’s been counterbalanced incorrectly can come down hard. None of that is a small risk, and none of it is worth attempting to save a service call.
What to leave alone:
- Torsion springs mounted on the shaft above the door.
- Extension springs mounted on either side along the horizontal tracks.
- Lift cables and the cable drums they wind onto.
- The center bearing plate and shaft assembly.
- Any adjustment to the spring tension to “fix” a door that’s too heavy or too light.
A trained professional has the tools, the training, and the procedure to take the tension off safely before any of these parts come off the door. If you suspect a Tier 3 problem, don’t open and close the door repeatedly to test it. Leave the door closed, park outside if you can, and call for service. In Brandon, our garage door opener repair and emergency service both start from the same training: the counterbalance system comes first, because everything else on the door depends on it being right.
Brandon’s Climate and What It Does to Your Door
Garage doors in Brandon live in conditions most maintenance checklists ignore. Warm temperatures, high humidity, and seasonal storms do specific things to a door’s parts, and the timing of a check should follow those conditions rather than a generic calendar.
Summer heat and the bottom seal. The rubber seal along the bottom edge of your door takes the full day of sun and the reflected heat off the driveway. Over a summer, that heat dries the rubber, then humidity lets it absorb moisture, then it dries again. The cycle cracks the seal. A bottom seal that’s cracked or flattened lets water and pests in and stops the door from sealing properly against the floor. Check it monthly through the warm months and replace it when it stops making full contact.
Humidity and weatherstripping. The foam or rubber weatherstripping at the sides and top of the door softens in Brandon’s humid air. When it softens, it separates from the frame, and when it separates, moisture gets behind it. Look for the seal curling away from the door stop, a dark or discolored line behind the rubber, or a seal that’s pulling loose at the corners. Any of those means it’s time for replacement, and the longer you wait, the more often you’ll find mildew where the seal used to be tight.
Humidity and the safety reverse. This one surprises people. A door that reversed correctly in the dry season can reverse too readily, or too slowly, after a stretch of humid weather. The adjustments that govern the door’s close force can drift as humidity swells the parts and changes the friction. That’s why we test the safety reverse after summer weather shifts, not just once. A door that stops partway down or reverses on close is telling you the settings need attention.
Storm season and the whole system. Brandon’s summer storms are a good trigger for a full walk-through. Storms pass, debris accumulates in the tracks, and small alignment issues from the wind and rain get worse over the following weeks. A post-storm check catches track misalignment and roller issues while they’re still cheap to fix.
A Seasonal Maintenance Rhythm for Brandon, Not a Quarterly Rule
The usual advice is “check your door every three months.” That’s tidy on paper and wrong for this climate, because Brandon’s problems don’t arrive on a quarterly schedule. They arrive with the heat and with the storms. Here’s a rhythm tied to what actually happens here.
- Monthly, all year. The Tier 1 list: lubricant on rollers and hinges, a wipe-down of the weatherstripping, a look at the bottom seal, and a safety reverse test. Fifteen minutes.
- Early summer, before the heat arrives. Inspect the bottom seal and weatherstripping closely. Look for softening and separation before the long hot stretch makes it worse. Check roller condition.
- Late summer, after the worst of the heat. Test the auto-reverse sensitivity again. Check the tracks for any warping or misalignment. Look at the hinges for looseness.
- After any significant storm. Clear debris from the tracks. Look for new dents or bends. Check that the door is still traveling smoothly and evenly.
- Once a year. Book a professional inspection of the Tier 2 and Tier 3 parts. This is the checkup that catches the wear you can’t see.
If a door fails unexpectedly in Brandon, our Brandon Garage Door Repair Co team offers emergency service for exactly those situations: stuck doors, broken springs, and openers that quit. Speed matters most when a door won’t close and the house is standing open to the street.
What Looks Fine but Is Actually Wearing Out
In our experience, the most expensive garage door repairs are the ones that were visible for months before they failed. The part looked fine. That’s the trap. Here are the visual cues most homeowners miss.
Rollers. A steel roller with a flat spot looks almost normal at a glance. The tell is the door’s motion: if the door jumps or shudders at one specific height, one roller has developed a flat spot. Nylon rollers are harder to judge because they crack rather than flatten, and a crack in a roller that’s still turning looks fine until it fails.
Hinges. A worn hinge looks tight but sits slightly crooked. Its screw holes wallow out slowly, and the panel the hinge holds starts to sag a fraction. The door still opens and closes. Look at the hinge from the side and compare it to its neighbors; a hinge that’s pulling away is bearing too much load.
Spring coils. A torsion spring shows a gap in its windings when it breaks, and that’s easy to spot. The harder cue is a spring that’s still intact but sitting slightly off its mark, or a door that feels heavier than it used to when lifted by hand from the closed position. A garage door in good repair is heavy but manageable. A door that feels like a dead lift is telling you the counterbalance is losing tension. Don’t force a stuck door.
Cable drums. A cable that’s winding unevenly onto the drum, or a drum that’s moving with a wobble, looks like a minor quirk. It’s an early sign the cable is wearing or the drum is loose, and both lead to a cable failure if ignored.
Weatherstripping and seals. A seal that’s still attached but has lost its spring, or a bottom seal that’s still on the door but has flattened, looks present. It’s not doing its job. Check the contact, not the attachment.
How to Document Your Door’s Condition Over Time
A technician can fix what’s broken today. A technician can also spot a part wearing out over months, but only if you keep a record. The single most useful thing you can do for your door’s long-term health is a simple log.
Here’s a system that works:
- Take a dated photo of the door’s hardware once a season. Springs, hinges, rollers, tracks. A photo from the same angle each time shows you wear you’d never notice week to week.
- Note the sound in a line or two. “Quiet” or “squeaks at the top third” is enough. Sound changes before parts fail.
- Record any test results. The date of your last safety reverse test, what you used, and whether the door reversed cleanly.
- Log the weather events. Note any big storm and check the door afterward. This connects damage to its cause.
- Bring the log to a service call. A technician who can see that a hinge has been loosening for six months fixes the cause. One who only sees it today fixes the symptom.
We’ve seen doors where a trend was obvious in a photo log and invisible at a single visit. That’s the value of the record. Whether the door runs a Wayne Dalton or a Raynor system, the parts wear the same way, and the log applies just as well.
Common Mistakes to Avoid
- Greasing the tracks. It seems helpful. It collects grit and makes the rollers slide instead of roll, which wears them faster.
- Testing a stuck door by forcing it. A door that won’t move is telling you something is wrong with the counterbalance. Forcing it can bend the tracks and injure you.
- Replacing one broken spring and leaving its pair. Torsion springs come in matched pairs, and a pair is replaced together because they carry equal load. Replacing one leaves an unequal load on a new spring. It costs more in the long run.
- Ignoring a cracked bottom seal through summer. A cracked seal is the first line of defense against water and pests. In Brandon humidity, it gets worse quickly.
- Skipping the reverse test after humid weather. A door’s close force drifts with humidity. A test done in dry weather doesn’t tell you what’s happening in July.
- Assuming a noisy opener needs replacement. Most noise is a lubrication or hardware issue, not a dead opener. Diagnosis first, replacement second.
- Ignoring storm debris in the tracks. Small grit and branches collect in the track and wear the rollers before you notice.
When to Call a Professional
Call a professional when you see a frayed cable, a gap in a torsion spring, a door that feels impossibly heavy, or a track that’s bent out of alignment. Any of these becomes dangerous if you work on it yourself, and none of them should be handled by a homeowner. A door that reverses for no reason, won’t close, or makes a loud crack should be left closed and seen by a technician. We recommend an annual inspection even when everything looks fine, since the Tier 3 parts are the ones that fail without warning. In Brandon, Brandon Garage Door Repair Co offers free estimates – call (855) 533-2795. Our technicians have up to 14 years of experience, and we work on the exact brand you already have.
See the difference
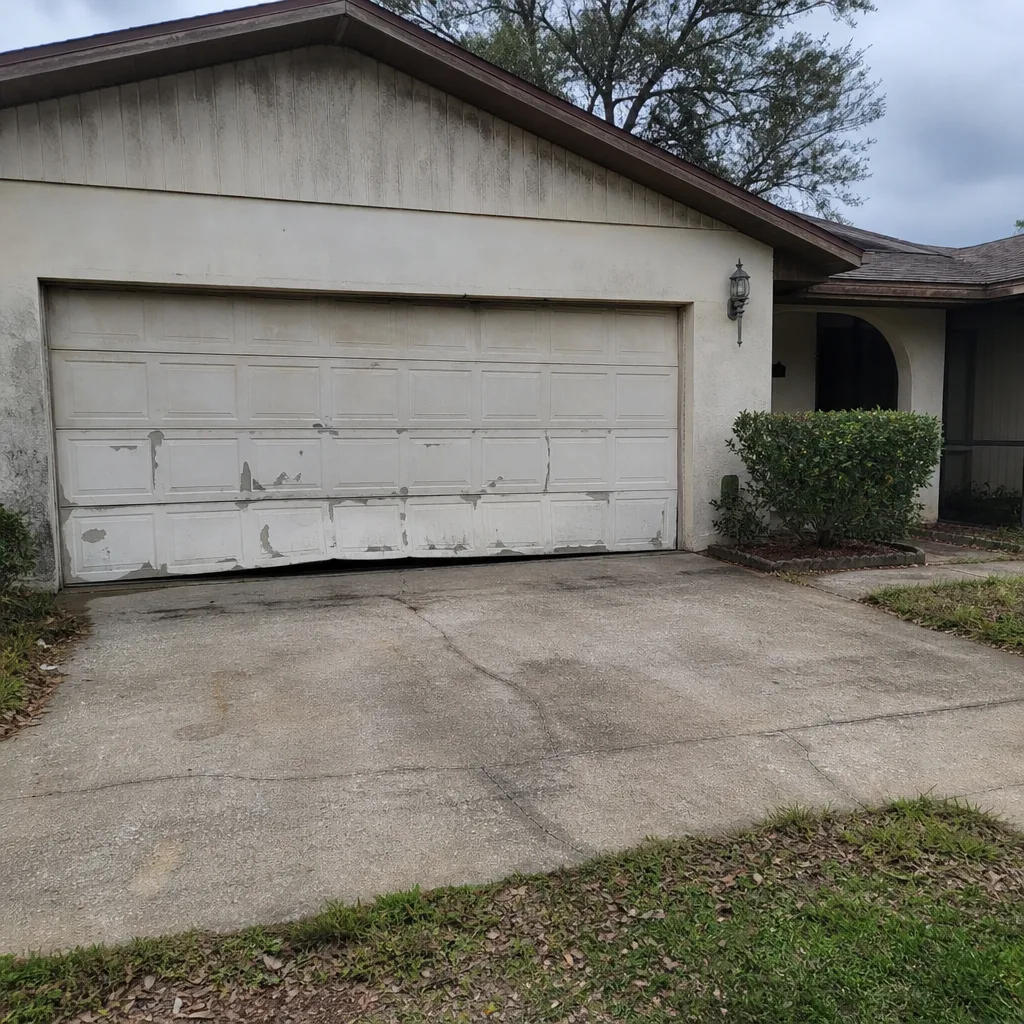 Before
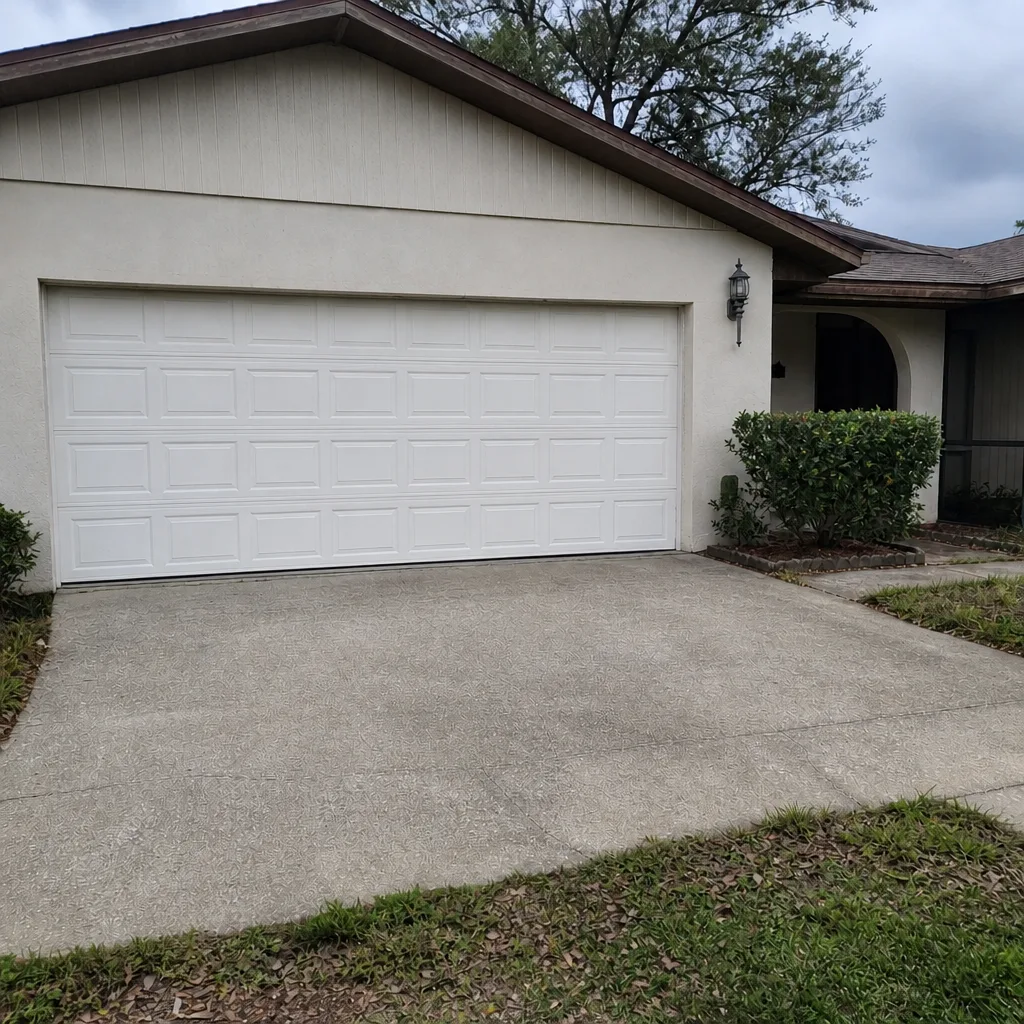 After
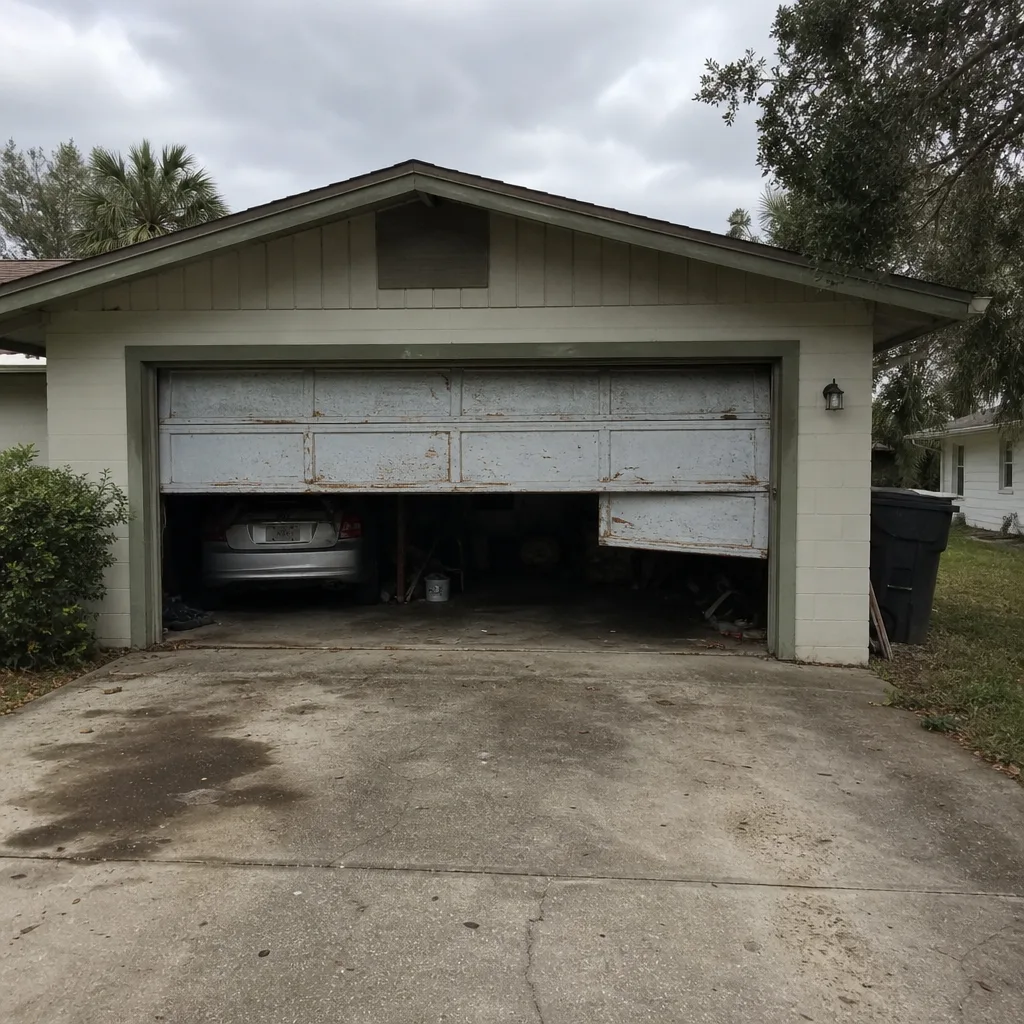 Before
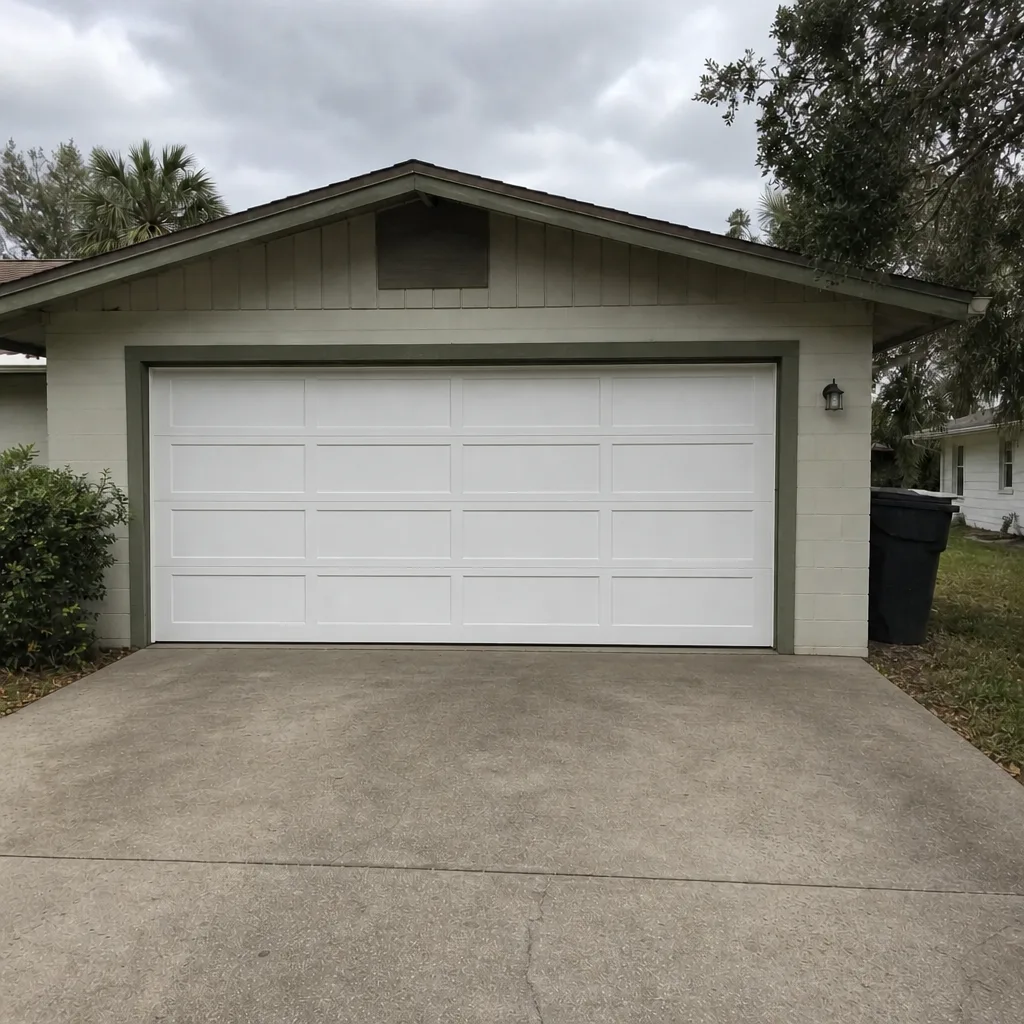 After
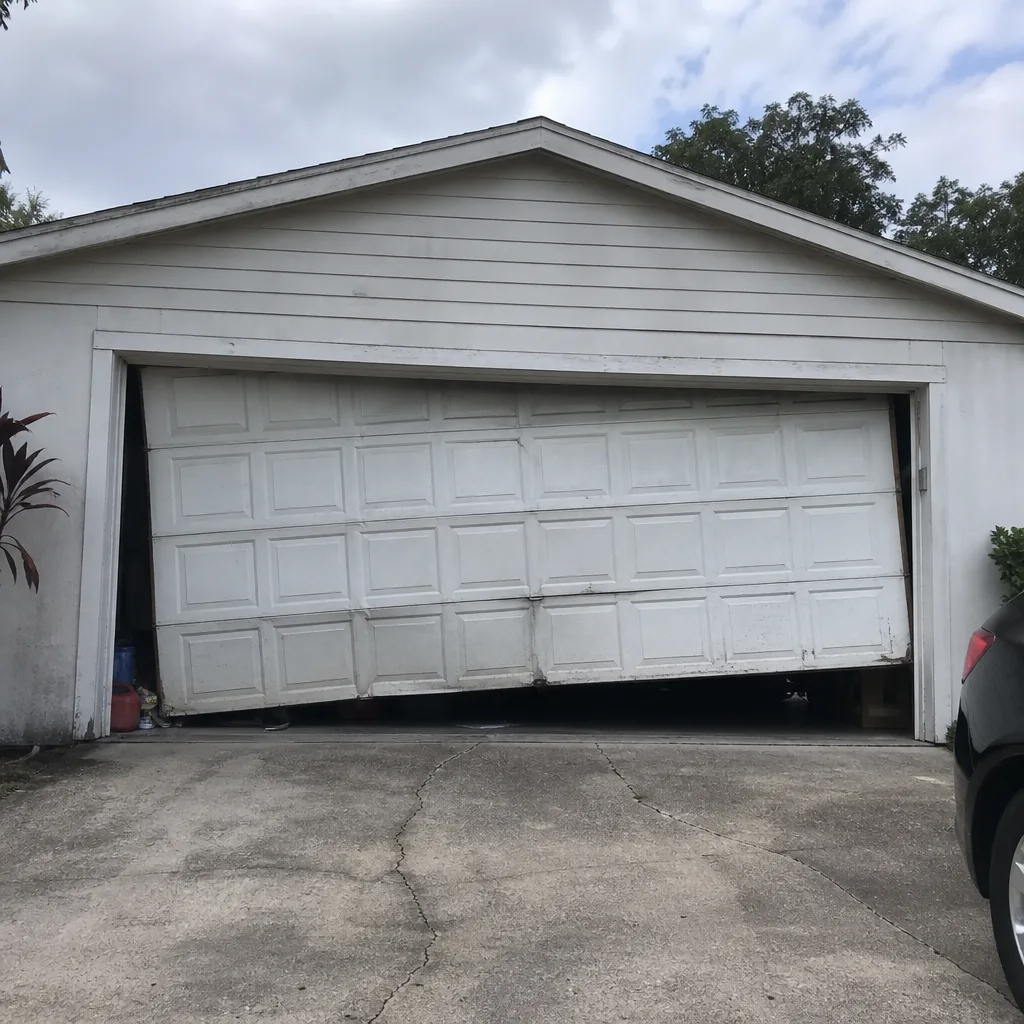 Before
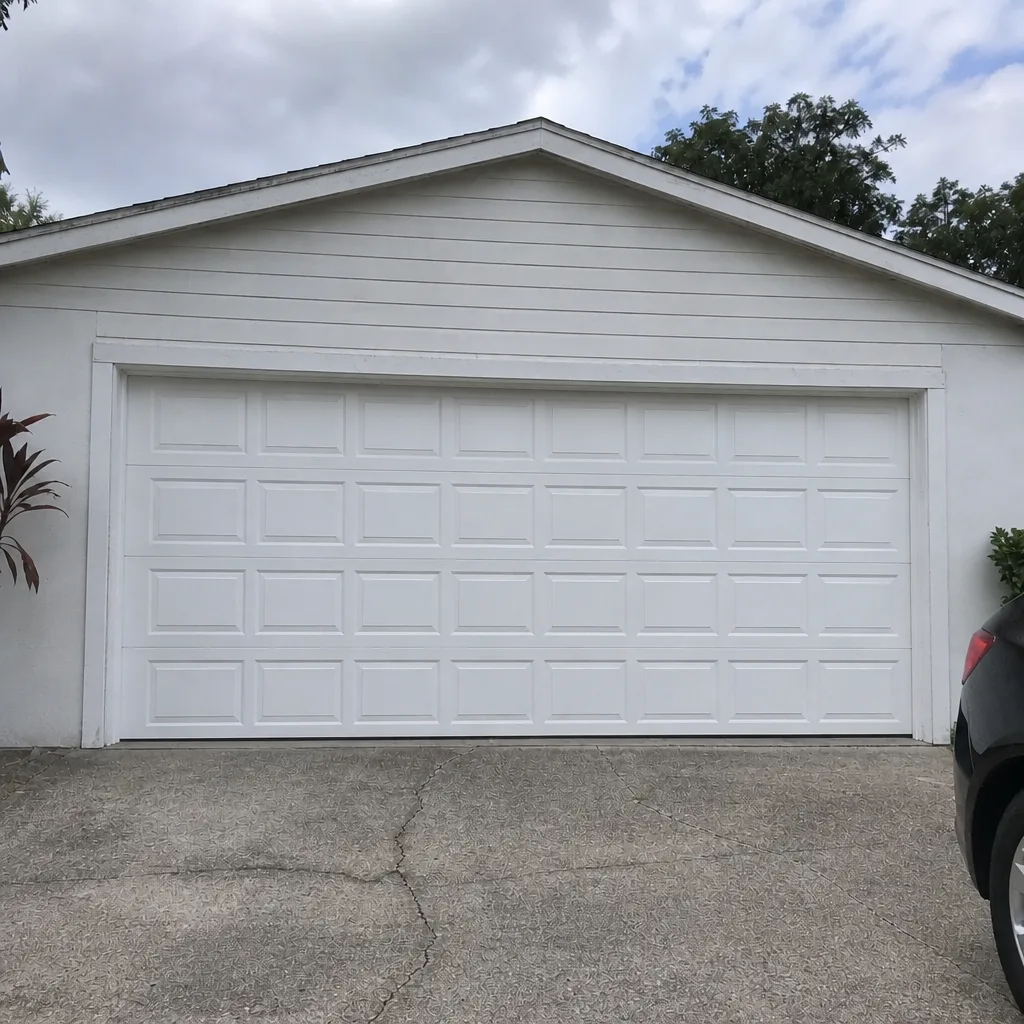 After
Frequently Asked Questions
Once a month for Tier 1 tasks, and after any summer storm
Once a month for Tier 1 tasks, and after any summer storm. Book a professional inspection of the springs, cables, and rollers once a year. Brandon’s heat and humidity wear seals and safety reverse settings faster than a drier climate would, so the monthly check earns its keep.
No. Torsion and extension springs store large amounts of energy, and releasing or re-tensioning them without the right tools and procedure can cause serious injury. Springs are not a DIY job. Leave the door closed and call a technician.
A door that reverses with nothing in its path usually has a misaligned safety sensor or a close-force setting that has drifted. In Brandon’s humidity, the friction in the tracks and hinges changes and the door can reverse too early. Have a technician check the sensor beam and the reverse settings.
Look for a seal curling away from the door stop, a seam pulling loose at the corners, and any dark or discolored line behind the rubber. Softening from humidity is the first sign it’s failing. Replace it once it stops making full contact.
Usually yes. Torsion springs are matched and carry equal load. Replacing just one leaves an older spring doing more than its share, and it usually fails soon after. Replacing the pair costs more upfront and less over the following year.
We service the major brands, including LiftMaster, Chamberlain, Genie, Clopay, Amarr, Wayne Dalton, Craftsman, and Raynor. That means a technician works on the system you already own rather than steering you toward a replacement. Call (855) 533-2795 for an exact quote.
The Bottom Line
A useful maintenance checklist sorts by risk, not by convenience. Tier 1 tasks – lubrication, weatherstripping, seal inspection, and the safety reverse test – you can do yourself in about 15 minutes a month. Tier 2 parts you can see wearing out, so watch rollers, hinges, cables, and spring coils from a distance and bring a pro in to fix them. Tier 3 – springs, cables, drums – is off-limits, full stop. In Brandon, tie the rhythm to the climate: monthly checks, a close look at seals before and after the heat, a reverse test after humid spells, and a track sweep after every storm. Keep a simple photo log, and a technician can fix causes, not just symptoms. Call (855) 533-2795 for a free estimate.
Written by the team at Brandon Garage Door Repair Co.